
BLOG
Leveraging Acquia Cloud Platform for Drupal Application Development in 2024
Discover how the Acquia Cloud Platform revolutionizes Drupal application development with robust features, intuitive interfaces, and seamless deployment processes.
July 30, 2024

Reading time: 5 min
|
CMS & Custom Development

Acquia Cloud Platform Overview
Acquia Cloud Platform simplifies the development of large scale, secure, and performant Drupal applications. The main features are:- Cloud based Drupal Applications
- Graphical dashboard for managing the environments with simple drag and drop operations
- Cloud based Integrated Development Environment (IDE) and Command Line Interface (CLI) for developing, committing, and deploying code and artifacts
- Acquia Search (SOLR), Email, Backups, and Domain Name System (DNS) Management
Development Environments
Out of the box, Acquia provides a starter code project as well as four separate application environments:- Dev: For initial development and new features
- Stage: For content creators to experiment and try new things
- Prod: For the live public-facing website
- Cloud IDE: For developers to create and alter the application without having to set up a local development environment.
Dashboard
The main dashboard for the Acquia Cloud Platform presents each environment, its URL, the current deployed code branch or tag, as well as the drag and drop interface for making changes to the environments. In addition, you can easily perform backups of databases, clear caches, and manage other environment settings here.
Deploying code, databases and files
Deploying code, databases, and files between environments is easily done via the drag and drop interface shown below. Generally, code is moved “up” from dev to stage to production, and databases are moved “down” from production to development so that developers can work against the most current content. When performing these operations, you are also able to configure automated actions such as clearing cache and backing up the database.Unfortunately, there are limited options for moving individual content items between environments compared to other Content Management Systems like Kentico or Sitecore which have much more in-depth workflow and staging solutions.
Acquia Cloud IDE
The Acquia Cloud IDE provides an easy way to develop Drupal applications on the Acquia platform. Beyond providing a Visual Studio Code interface for developing the application, Acquia integrates their command line interface directly into the IDE. This allows you to push and pull code, databases, and files between the Cloud IDE, Development, Staging, and Production environments quickly and easily directly from within the IDE.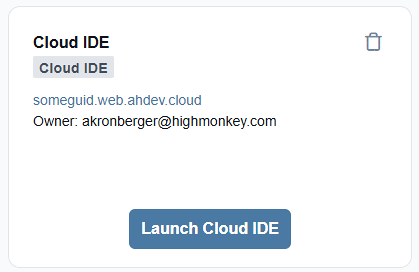
Functionality and Recommended Project
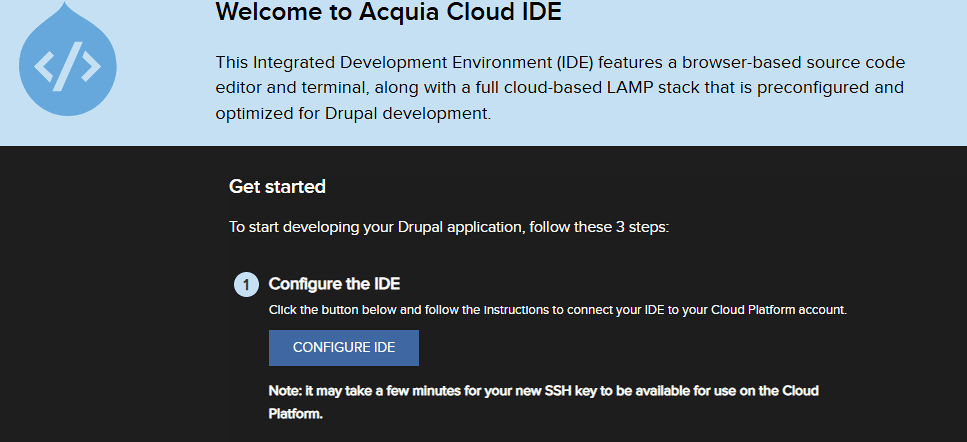 When first using the Cloud IDE, it is necessary to configure Secure Shell (SSH) access via the “Configure IDE” button.
After securing access, one can either clone an existing project or create a new one. Acquia provides a great starter project called Acquia CMS that is preconfigured using recommended settings for their platform. More information can be found at: https://docs.acquia.com/acquia-cms/install-cms#install-acquia-cms-cloud-ide
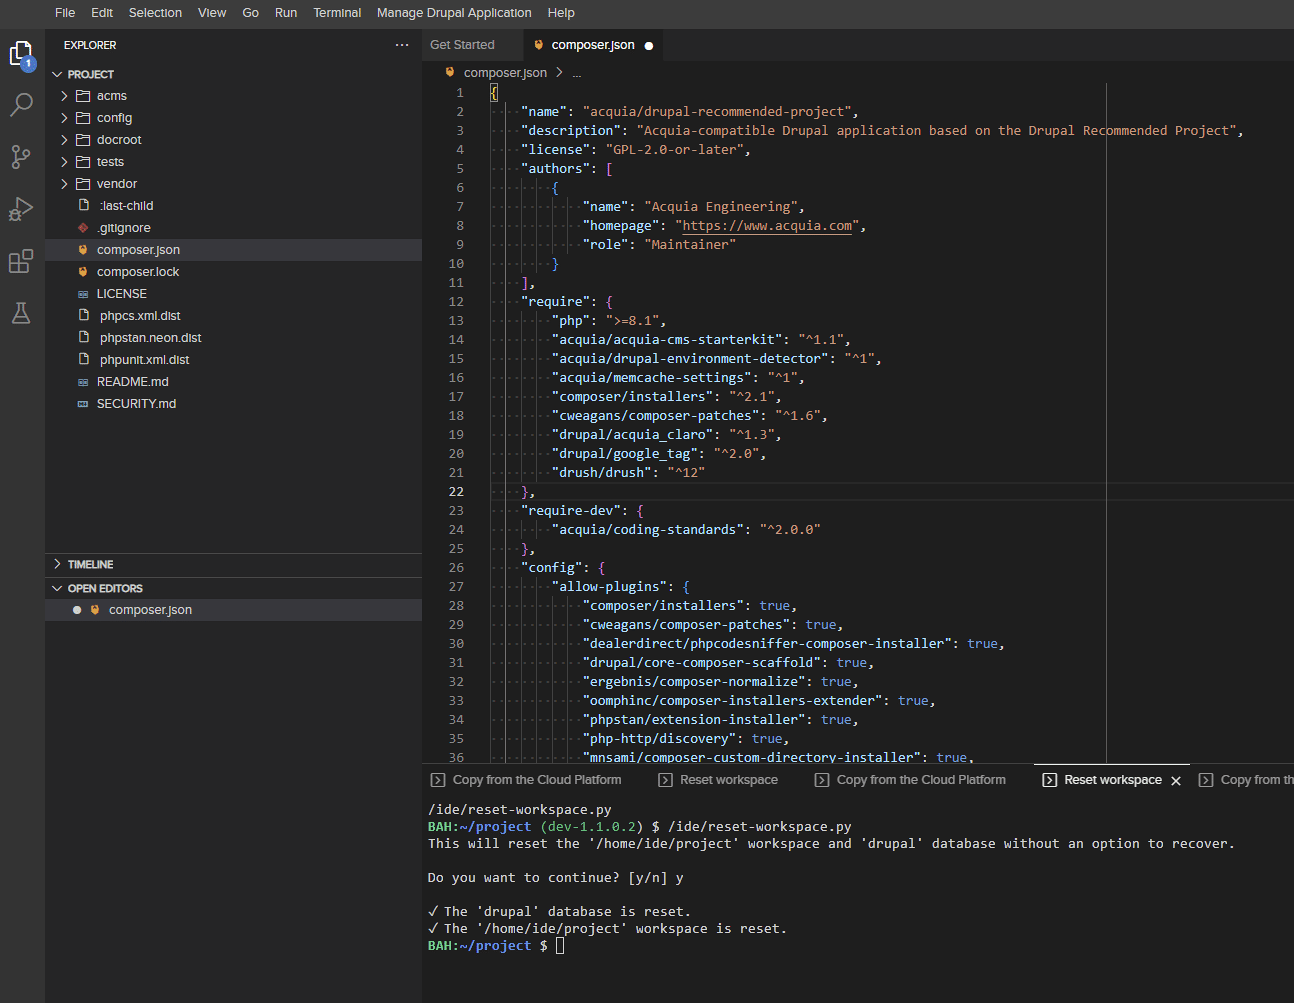
After generating a project, you will have a nice composer.json file that drives the code project and dependencies. It’s important to note that module updates and changes need to be done via the composer.json file (and related shortcut commands like ‘composer require’) and not within the Drupal application itself.
This is mostly what one needs to get going with a new Drupal project. From here a theme or custom theme is usually added to enhance the look and feel of the site.
ACLI
Acquia CLI is provided as an easy way to push and pull code, databases and files directly from the Cloud IDE.For example, you can push databases using “acli push:db”, or push a code artifact using: “acli push:artifact --destination-git-branch=dev-v0.1”.
One important technical thing to note is that you shouldn’t commit the “vendor” folder if your repository workflow does not involve committing the specific vendor dependencies. Only the composer.json and composer.lock files should be committed before pushing with the ACLI. Committing just these two files triggers a re-build of the vendor folder which is then automatically committed when the artifact is pushed.
For more information on getting started with the Acquia CLI, click here.
Latest Blogs

| CMS & Custom Development
Using AJAX and MVC for Filtering and Paging a Directory
Learn how to build a dynamic resource directory with AJAX and MVC, featuring filtering and paging for a seamless user experience.
June 5, 2025
Reading time: 8 min


| Inclusive Design
Why Accessibility Isn’t Optional: Celebrating GAAD at High Monkey
Recognizing Global Accessibility Awareness Day with resources, insights, and episodes from our podcast that promote inclusive digital experiences.
May 15, 2025
Reading time: 3 min


| News
High Monkey at ACCELERATE 25
High Monkey had a blast at ACCELERATE 25! See what we shared, who we met, and how we’re helping credit unions improve their digital experiences.
April 24, 2025
Reading time: 2 min
Your success story starts here
Contact us for a free consultation, and let’s work together to build a strategic plan that tackles your challenges and lifts your organization to a new level.